Free Pattern: Attic Windows Recipe
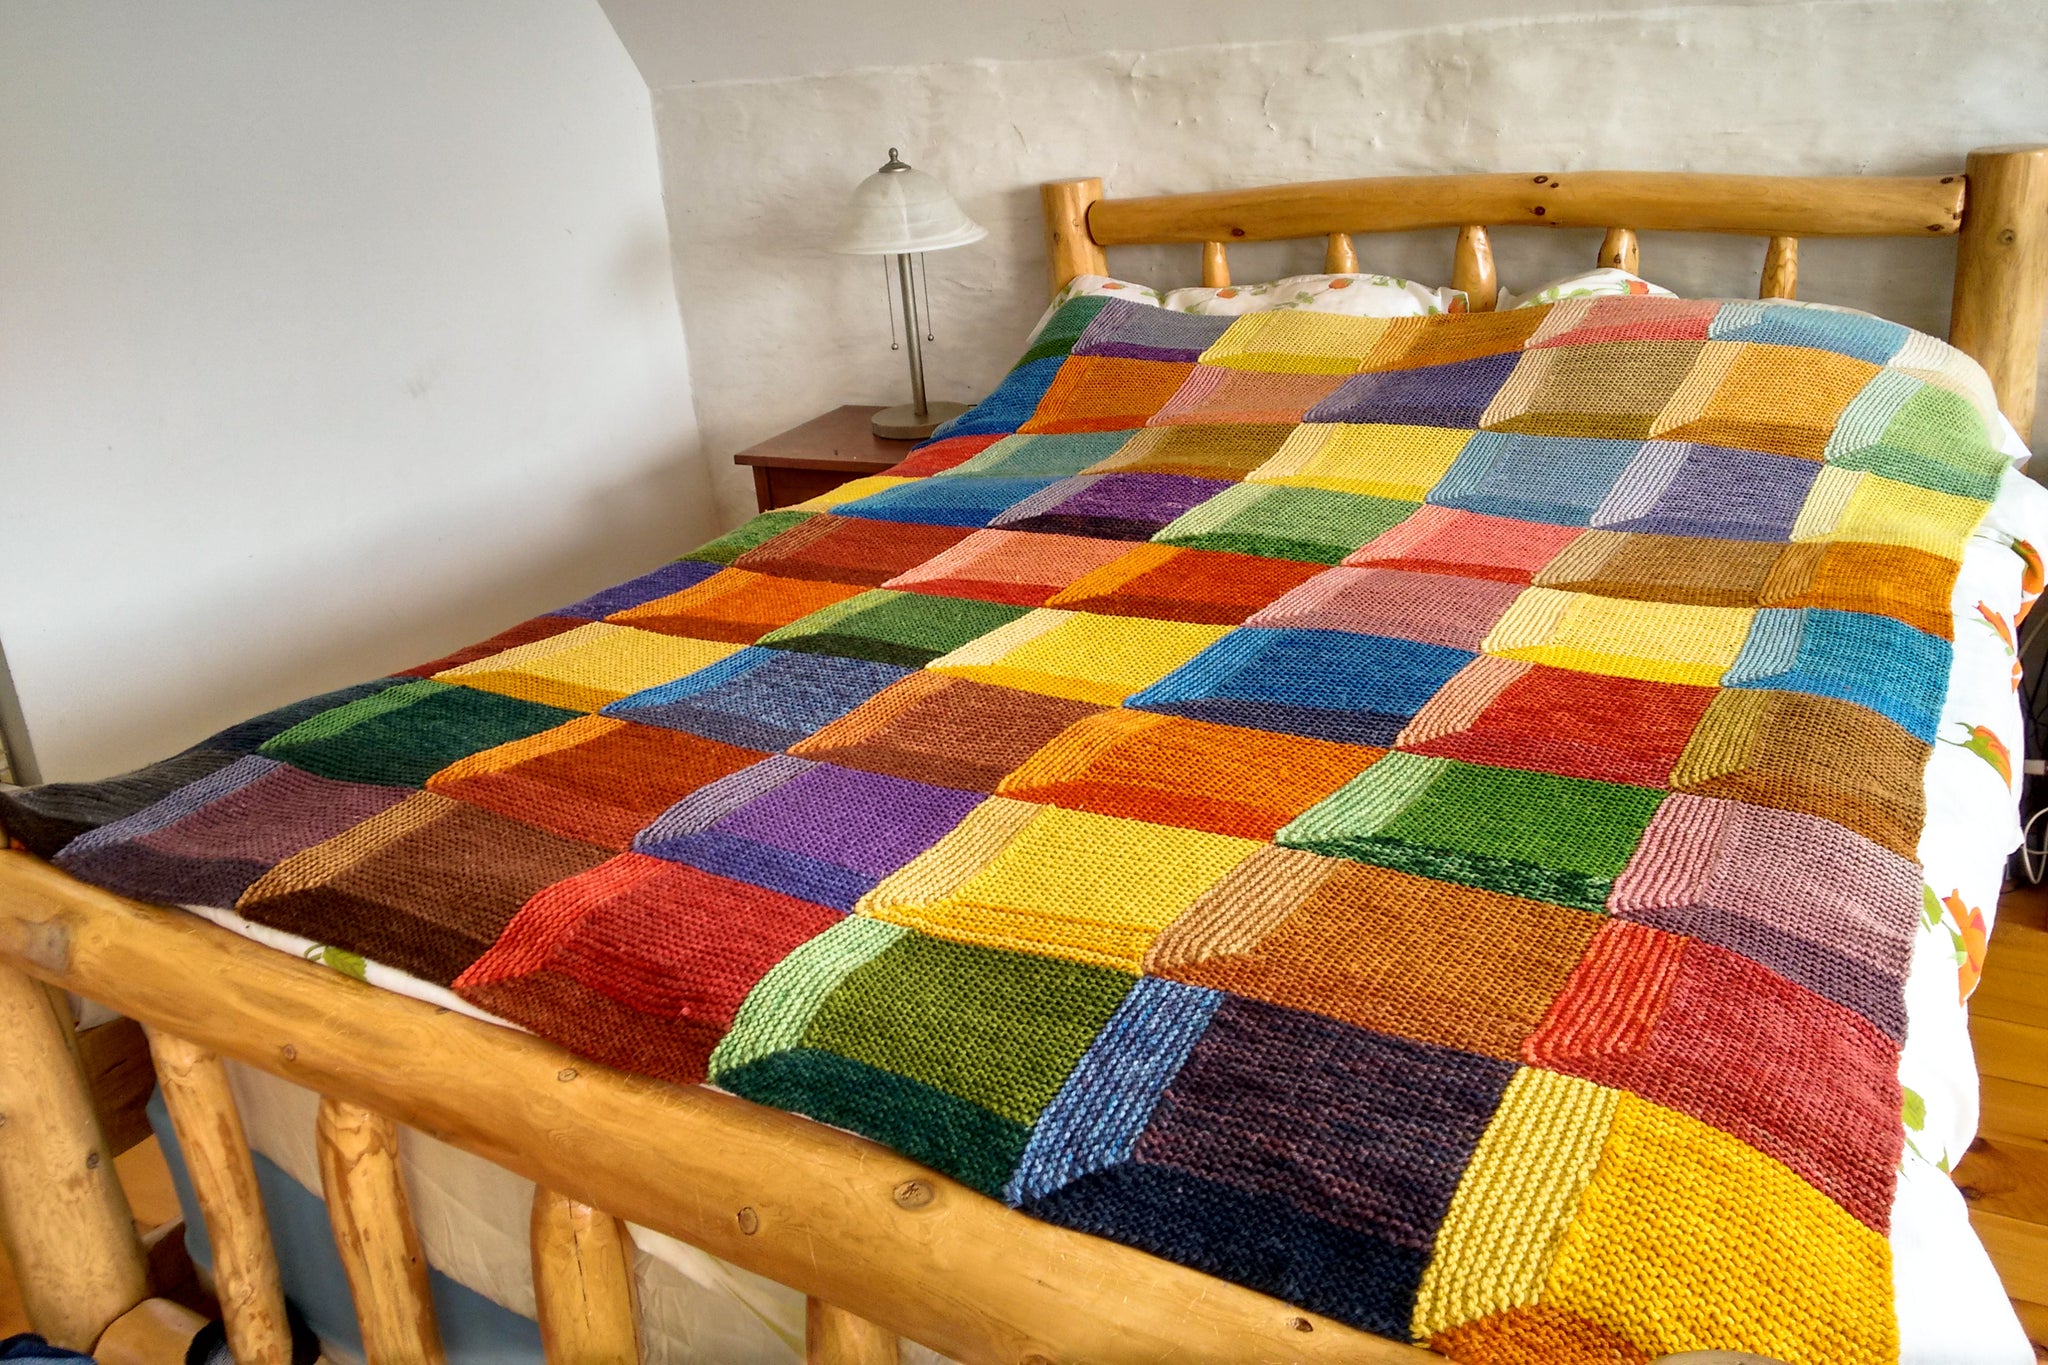
The story of this pattern starts back in 2008 when Elizabeth and I, along with our sister Margaret, decided that we wanted to make a blanket for our parents as a gift for their 25th wedding anniversary. Elizabeth suggested we base our blanket design on the traditional Attic Windows quilting pattern, and she came up with a simple technique to knit the squares.
The Attic Windows quilt pattern uses the placement of light and dark fabrics to create a 3-D windowpane effect, and we mimicked this by using a light, medium, and dark shade of the same colour for each square of our blanket. We happened to be in the process of developing colours for a new worsted weight hand-dyed yarn at the time, so we took the opportunity to test out all kinds of dye combinations. I'm not certain anymore exactly how many individual colours there are in the blanket, but I'm pretty sure there are over 50, and each of the 63 squares is a different combination.
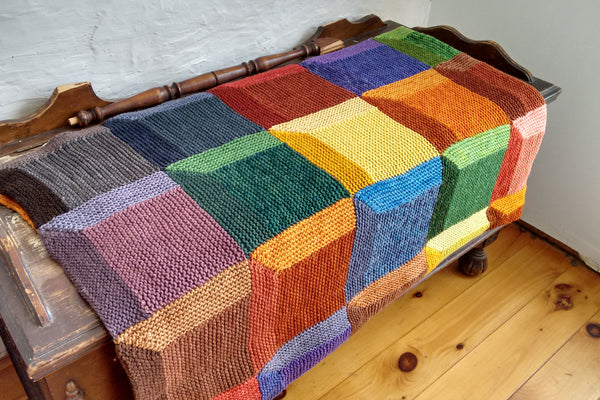
The blanket ended up being a huge undertaking and we were weaving in ends right up until the last minute, but our parents were thrilled with the result, and they still use the blanket regularly.
Ever since we knit the anniversary blanket Elizabeth and I have it in the back of our minds to write up a pattern using her Attic Windows technique, and we finally made it happen this spring - only 12 years later! We released the Attic Windows Baby Blanket pattern in May, a design that cleverly combines this pattern with our Crescendo gradient mini-skein sets.
We're super-pleased with how the baby blanket pattern came out, but we also wanted to share the basic technique for the Attic Windows squares, because it's so adaptable, and so much fun to play with! So, we decided to create a free "recipe" version of the pattern too, that shares the basic technique as well as a step-by-step guide on planning your Attic Windows project.
This pattern is written in a slightly unusual way, because the "recipe" is highly customizable and can be adapted for any weight of yarn or size of blankets. We’ve laid out the process of planning and knitting your own blanket in six steps, including calculating how large your finished blanket will be and how much yarn you will need.
Elizabeth has used her technical wizardry to create two different versions of the pattern PDF. The first one is a basic version that you can print and fill out with your own calculations. The second one is a fancy fillable form version of the PDF, which will do the calculations for you based on your measurements!
Download the free printable PDF of the Attic Windows Recipe pattern
Download the free fillable PDF of the Attic Windows Recipe pattern
Both versions of the pattern include several pages of layout ideas that can be used as colouring sheets to design your own Attic Windows blanket. If you are printing the pattern you may wish to select only the page that corresponds to your chosen layout.
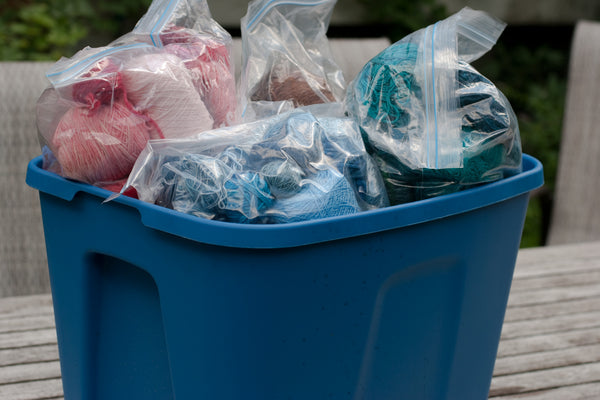
I've been using this pattern "recipe" recently to start on another project that's been in the back of my mind (and literally under my bed) for many years as well. When our grandmother, who taught us to knit, passed away, she left my sisters and I all her knitting tools, books, and yarn. We sorted out the main part of her stash, dividing it up between us, and I decided to keep all the random scraps: bits and pieces of yarn that weren't really enough for a full project, many of which weren't labeled. I've been adding my own scraps to the pile over the years and I discovered when I pulled it all out from under the bed that I now have enough to fill a large tub.
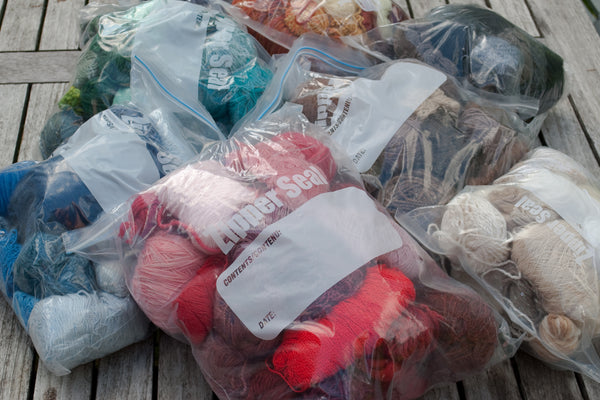
I've separated the scraps by colour to make it easier to plan the squares, but really I'm just making it up as I go along. I'm holding multiple yarns together (in order to incorporate all different weights of yarn) and choosing the colours for each square as I go.
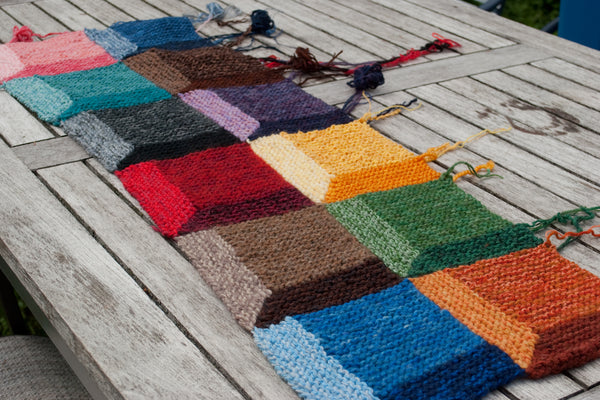
I'm really pleased to finally be working on this project after all this time. I love seeing the blanket I'd been imagining come to life, and the knitting is simple enough that it's been perfect for working on during all my Zoom meetings and webinars this spring.
If you're inspired to tackle your own scrap pile with a similar project, leave a comment below to let me know and I'd be happy to share another post with some tips on choosing yarns and blending colours.
12 Responses
María Cefaratti
I would love to knit a copy of your original blanket. Where did you buy the yarn? Is there a place where I could obtain all the needed shades?
Thank you
Patricia Rand
I love this blanket of yours but was unable to come up with having 3 shades of color so to get from having to buy too much yarn. I bought fingering yarn in off white and dark gray then knit in the base color, Aran weight yarn, then with two strands of different color fingering yarn, adding white for light tone and Dk gray for dark tone along with the base color yarn . Have had to switch up to worsted instead of Aran weight. Hope this isn’t too confusing cause I figure I will be knitting up to 2 yrs off and on with this pattern.
Jennifer Whiteley
This is a fabulous idea and project. Thanks for putting it all together in a pattern. I would love any additional advice on colours and yarn choices.
Thanks!
Nancy Heinrichs
Sooooooooo beautiful !!!! I would love to start that project
Lorraine Louise Lawton
I would love to learn more!
pat
That’s a great way to use up odds and ends!! You only need small bits of each colour - even if you have to use TWO colours in one block. It all works. And you can use two strands of a finer yarn too…… This is a great TV-watching project! Thanks for this.
Kathryn Brill
Wow I LOVE this blanket! I’m anxious to start. May I have your post with tips on choosing yarns and blending colors??
Diane
I would sure appreciate any tips you would like to share. What a beautiful design.
Laurel
As a recovering quilter (now a knitting addict), I am thrilled with this design. Thank you!
Laurel
As a recovering quilter (now a knitting addict), I am thrilled with this design. Thank you!
Denise
I could definitely use some tips. Thank you!
Gisele Van Zanten
Absolutely beautiful project idea!
Leave a comment
Also in News
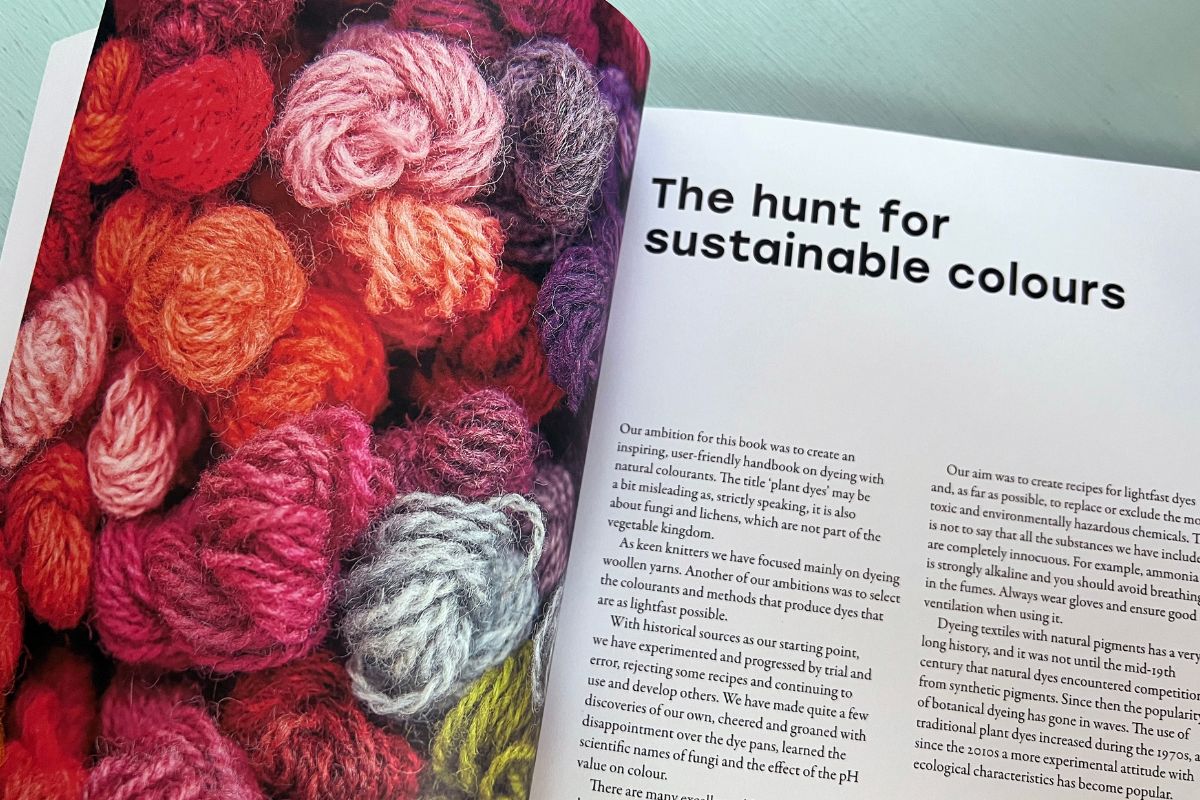
Choosing a Natural Dye Book
Have you ever tried dyeing your own yarn using natural colorants? Are you now looking for more inspiration? Or maybe you’ve always been curious, and are wondering where to begin. Below, we’ve introduced four books that could be exactly what you’re looking for!

Knitting Comfortably: The Ergonomics of Handknitting
One month ago, I found myself in the emergency room with unbearable back pain. I later learned it was caused by a herniated disc and osteoarthritis (OA) that had taken over my entire lower back. Would I ever be able to dye yarn again, let alone... knit...?


Debbie Sullivan
Author